
1. Introduction
Urban micro-farming is the practice of growing fruits, vegetables, and herbs in small city spaces—balconies, rooftops, community plots. As urban populations grow, this movement offers sustainable, healthy, and community-building solutions. In this blog, we’ll explore everything you need to know to start your own micro-farm, from planning and planting to harvesting and monetizing.
2. Why Urban Micro-Farming?
Benefits for City Dwellers
- Freshness & Flavor: Harvesting produce close to your meal ensures peak freshness.
- Reduced Grocery Bills: Grow your own staples—herbs, salad greens, tomatoes—and save money.
- Well-being Boost: Gardening reduces stress, gets you outside, and builds community.
Environmental & Community Impact
- Urban green spaces improve air quality and reduce heat islands.
- Sharing crops fosters neighborhood connections and food security.
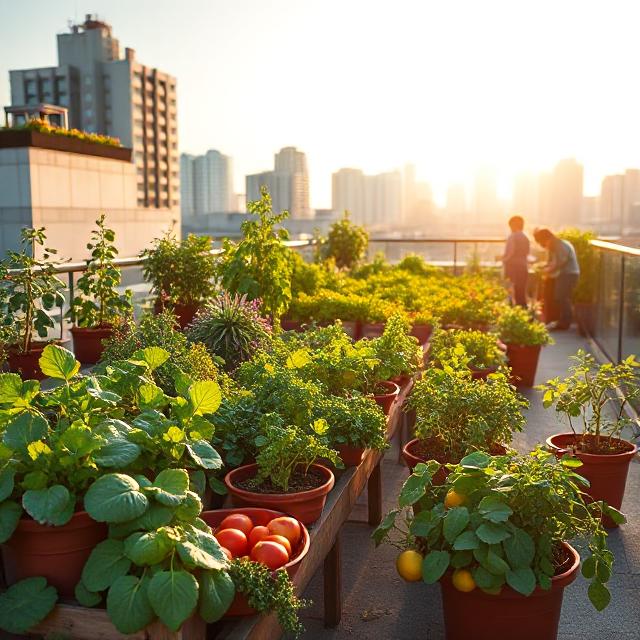
3. Getting Started
Choosing the Right Space
Assess light, access, and safety. South-facing balconies are ideal (6–8 hours of sun). Community garden plots are great if you lack a private space.
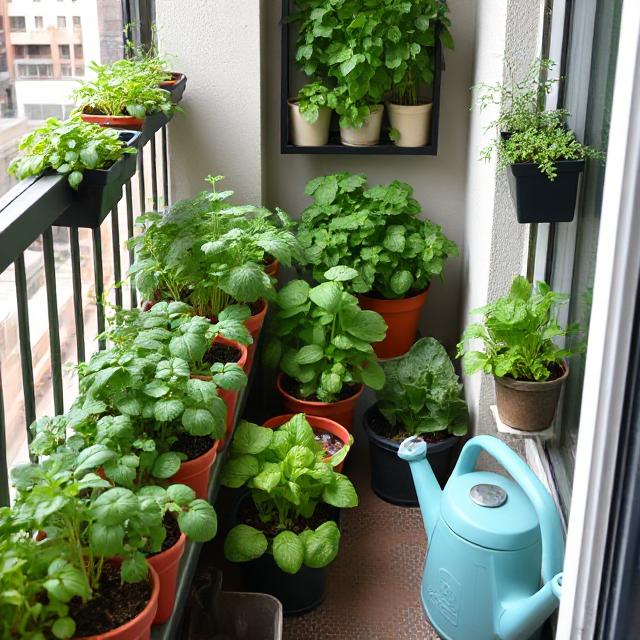
Selecting Soil, Containers & Tools
- Containers: Use self-watering pots, grow bags, or recycled materials.
- Soil Mix: Compost-rich, well-draining potting mix is a must.
- Tools: Basic kit—trowel, pruners, watering can, organic fertilizer, trowel, gloves.
4. Best Crops for Urban Micro-Farms
Herbs & Leafy Greens
- Easy: basil, cilantro, mint, parsley, lettuce, spinach, kale.
- Grow fast and harvest continuously.
Compact Vegetables
- Cherry tomatoes, peppers, radishes, bush beans—they thrive in pots.
Fruits in Containers
- Strawberries, dwarf citrus, blueberries are perfect for city gardens.
5. Step-by-Step Guide
Planning & Layout
Map sun patterns. Rotate pots so each plant gets optimum light. Use vertical space with shelving or trellises.
Planting & Maintenance
- Sow seeds or transplant seedlings.
- Mulch to retain moisture.
- Stake tall plants.
Watering & Fertilization
- Daily check—container soil dries fast.
- Water early morning.
- Use organic or water-soluble fertilizers every 2–4 weeks.
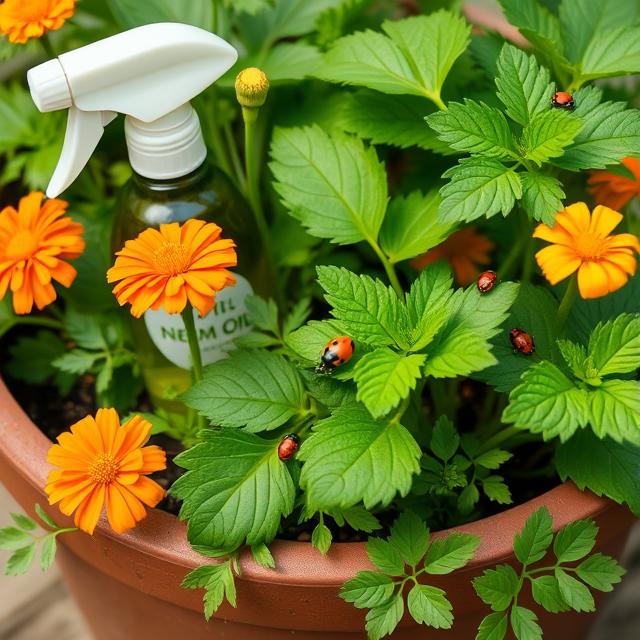
6. Pest Management Without Chemicals
- Identify: aphids, spider mites, caterpillars.
- Use neem oil, insecticidal soaps, or ladybugs.
- Practice crop rotation and companion planting: basil with tomatoes, marigolds repel pests.
7. Harvesting & Storage Tips
- Harvest leafy greens early morning at the base.
- Store herbs in water jars on the fridge or dry them.
- Pick tomatoes when slightly soft and fragrant; store at room temp.
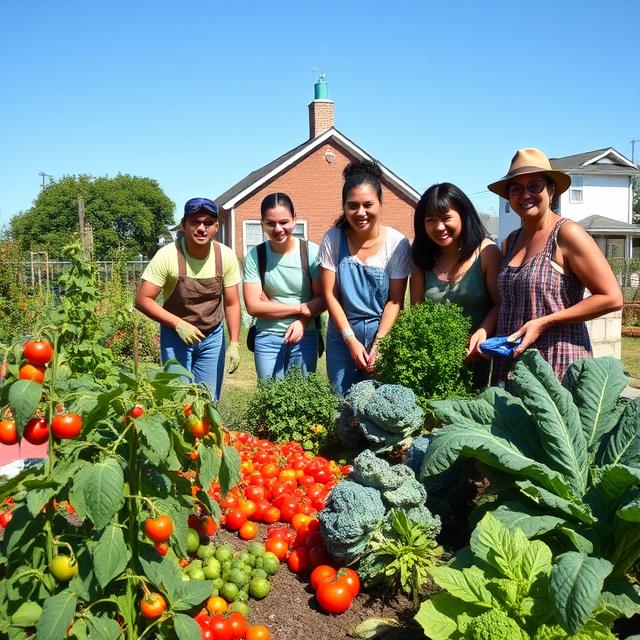
8. Inspiring Success Stories
- Rooftop Gardens NYC: Provided produce to local families.
- Community Plot in London: Residents grew 200+ kg vegetables, built social ties.
You can link to relevant local organizations and photos for authenticity—internal visual links help SEO and AdSense friendliness.
9. Monetizing Your Micro-Farm
Selling Surplus
Farmers’ markets, CSAs (Community Supported Agriculture), or local organic stores.
Workshops & Classes
High demand from beginners. Host balcony micro-farming events—post videos or guides on your blog and YouTube for extra income.
10. Common Challenges & How to Overcome
| Problem | Cause | Solution |
|---|---|---|
| Wilting | Under-/over-watering | Soil check daily, adjust watering |
| Low yield | Poor soil or light | Add compost, supplement light |
| Pests | Dense planting | Prune, use companions, use eco-controls |
11. Tools & Resources
- Books: “Mini-Farming in Small Spaces,” “Urban Permaculture.”
- Sites: Local horticulture extension, micro-farm forums.
- Tools: Grow apps (e.g., Plantix), sunlight calculators.
- Videos: Beginners’ tutorials—embed YouTube (helps ad revenue).
12. Conclusion & Next Steps
Urban micro-farming transforms small spaces into green, productive oases. You’ll enjoy fresher food, save money, and build community. Start small—try a few containers—then expand as you learn. Subscribe for monthly micro-farming guides, join our workshop, and share pictures below of your first harvest!